Spray Painting on Paper

Painting is an Art. Love
for painting comes from the person who understands the importance of Art.
Basically when we are kids we just draw or scribble around, but as we grow up,
our understanding and imagination power increases and instead of just putting
the colors on paper, we transform the colors into a beautiful painting. As a kid, we usually begin to explore things in and around us, then learning
from our surroundings bring out our talents and specialties into our hobbies.
People all over the
world try their hands in painting, they show interest in Art. But few may get
excelled in painting, so there is an activity
for them called the ‘Spray Painting’ that could be helpful to those who
are still not given upon their interest. This painting allows them to express
their creativity, imaginative, stimulative and developing skills. It is not
only an activity for the children, but even the grown ups can possess their interest in this painting.
Children love Spray
Painting for many reasons:
- It is a fun-filled activity without any boundaries.
- Children do the painting independently.
- They love the spread of the colors which is eye-catching.
- They find their freedom and express happiness while doing the activity.
- They are not forced to limit their use of colors.
- They can sprinkle the color anywhere on the surface provided to them.
- This activity is inexpensive and not too messy.
- It is very easy and precise for the young group.
Spray Painting
There are varieties of
Spray Painting for children such as:
- The outdoor Spray Painting- where children are allowed to spread the colors on a big platform or sheet.
- Object Spray Painting- where we usually select an object like leaves of a plant, stencils, shape cut-outs etc. we keep the object on a sheet of paper and spray color, after the color coats thoroughly and dries, we lift the object from the paper where it will leave an impression.
- Tape Spray Painting: in this activity, we put a tape on the desired paper or surface, then children randomly choose their own colors and spray the paint on the surface. Then we remove the tape from the surface and you will get the texture on the paper.
For this Spray Painting, I’ve used acrylic colors adding water to make the paint thinner. You can also use Tempera or Poster colors and make sure to add the proper ratio of water with the paint to make the fluid flow. I would recommend using non-toxic and washable paint for this Spray Painting.

Materials Required:
- A4 sheet of paper/ A Chart Paper (2 pieces)
- A toothbrush (any old used toothbrush will do)
- Poster colors/ Acrylic color/ Tempera paint/ washable liquid watercolor
- Pencil
- Scissor
The procedure to
make the Stencil:
- Take a sheet of paper (A4 sheet or a piece of old newspaper will also do)
- Draw the designs or patterns on the paper with a pencil (I’ve made a drawing of a shoe flower)
- Slowly cut the inner wards of the designs using a safety scissor.
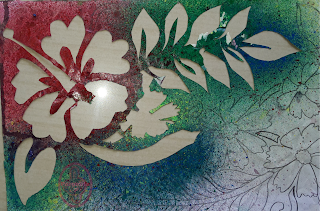
This is the outcome of
the stencil I got
It is always safe to
first test on a sample paper before you create a messy painting, so lets move on to the procedure.
Procedure:
- Firstly keep the unused A4 sheet of paper on the floor (or where you want to do the activity, it should be a flat surface)
- Put the prepared Stencil upon the paper and move your hands slowly (so that the papers should not move from their position)
- Dip the toothbrush in the paint and
hold it as shown in the pic.

- Hold the toothbrush with the paint on its bristles over the paper, gently run your thumb along the bristles so the spray falls on the paper. To get brighter color spots, hold the brush close to the paper for finer lines of a spray of colors around the shape cut-outs.
- Sprinkle the bristles of the toothbrush with your thumb on the complete paper. Then leave it to dry for 10 minutes.
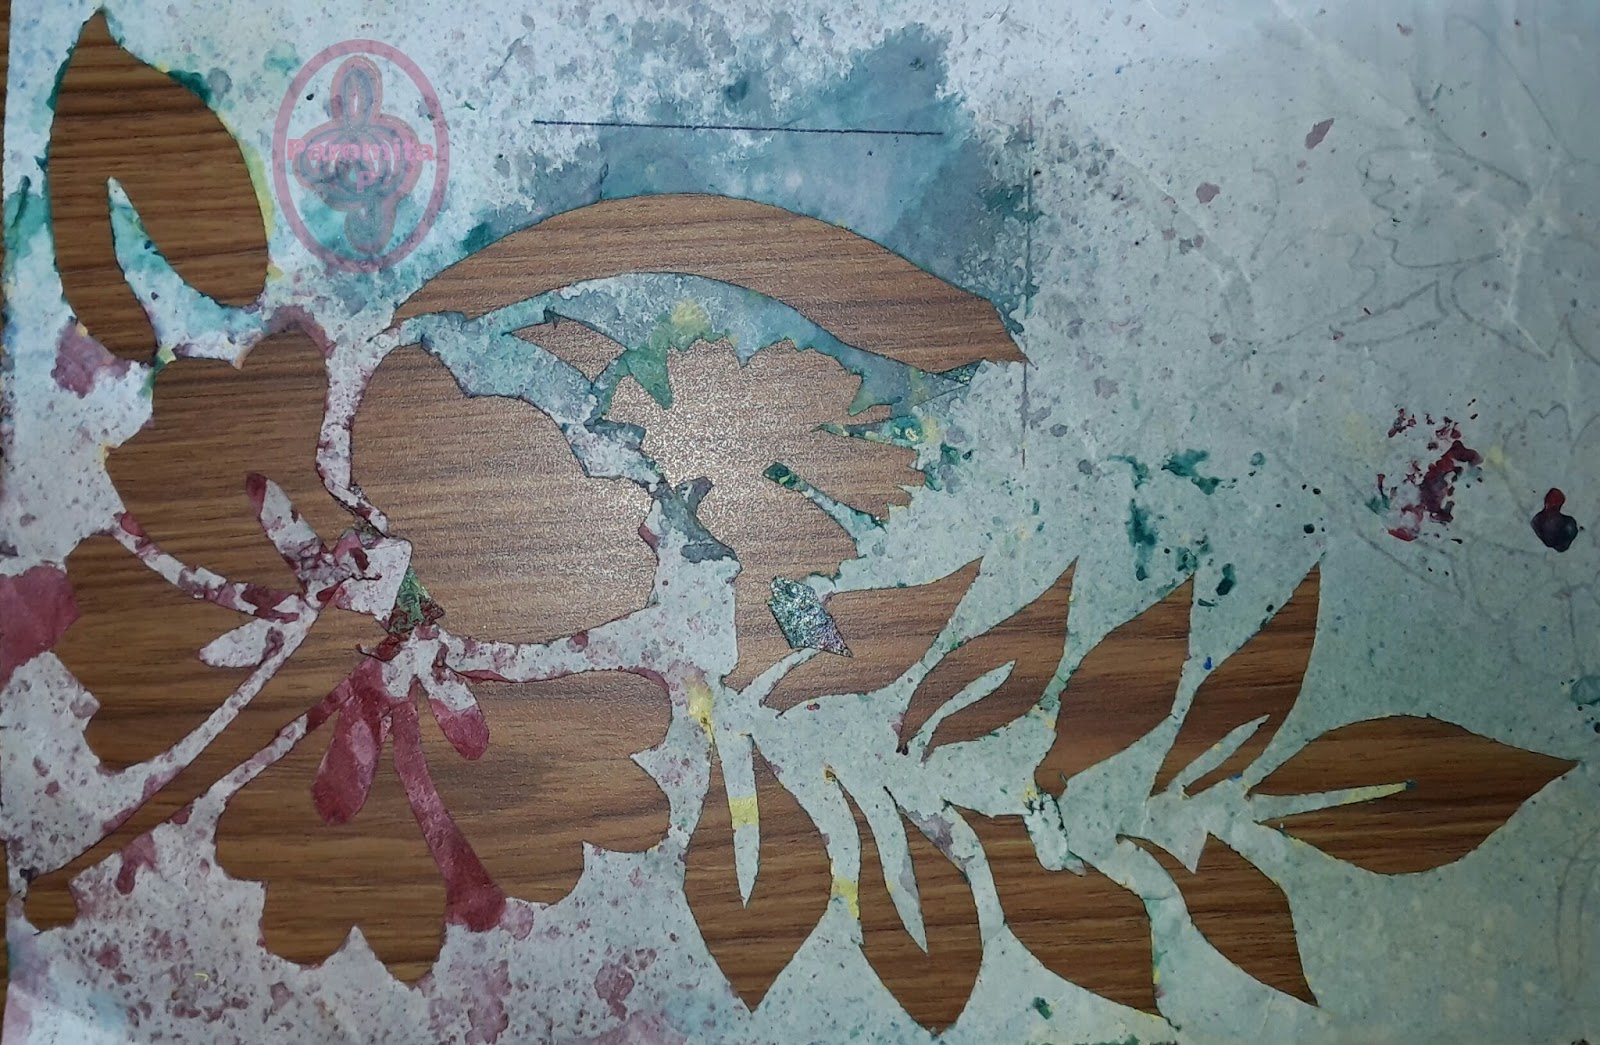
- Remove the stencil paper. Now the colors will leave the impression
of the shape cutouts on the chart paper and the stencil may look like shown below.


You can paint whatever
you want to paint this way. This Spray
Painting is the best way to enrich children as they explore. Create your own Spray
Painting on paper and share your experience with me on this page.
The below is a Spray Painting activity done by a
student from the same sheet of the stencil
that I prepared.


Can you make a clear painting for me please
ReplyDelete